Apps
Creating an app
The New app wizard creates an app, deploys it and connects its address in one go. Each step starts from sensible defaults, and nothing is sent to the server until you confirm.
Choose New app on a server's Overview or Apps page. The wizard has five steps.
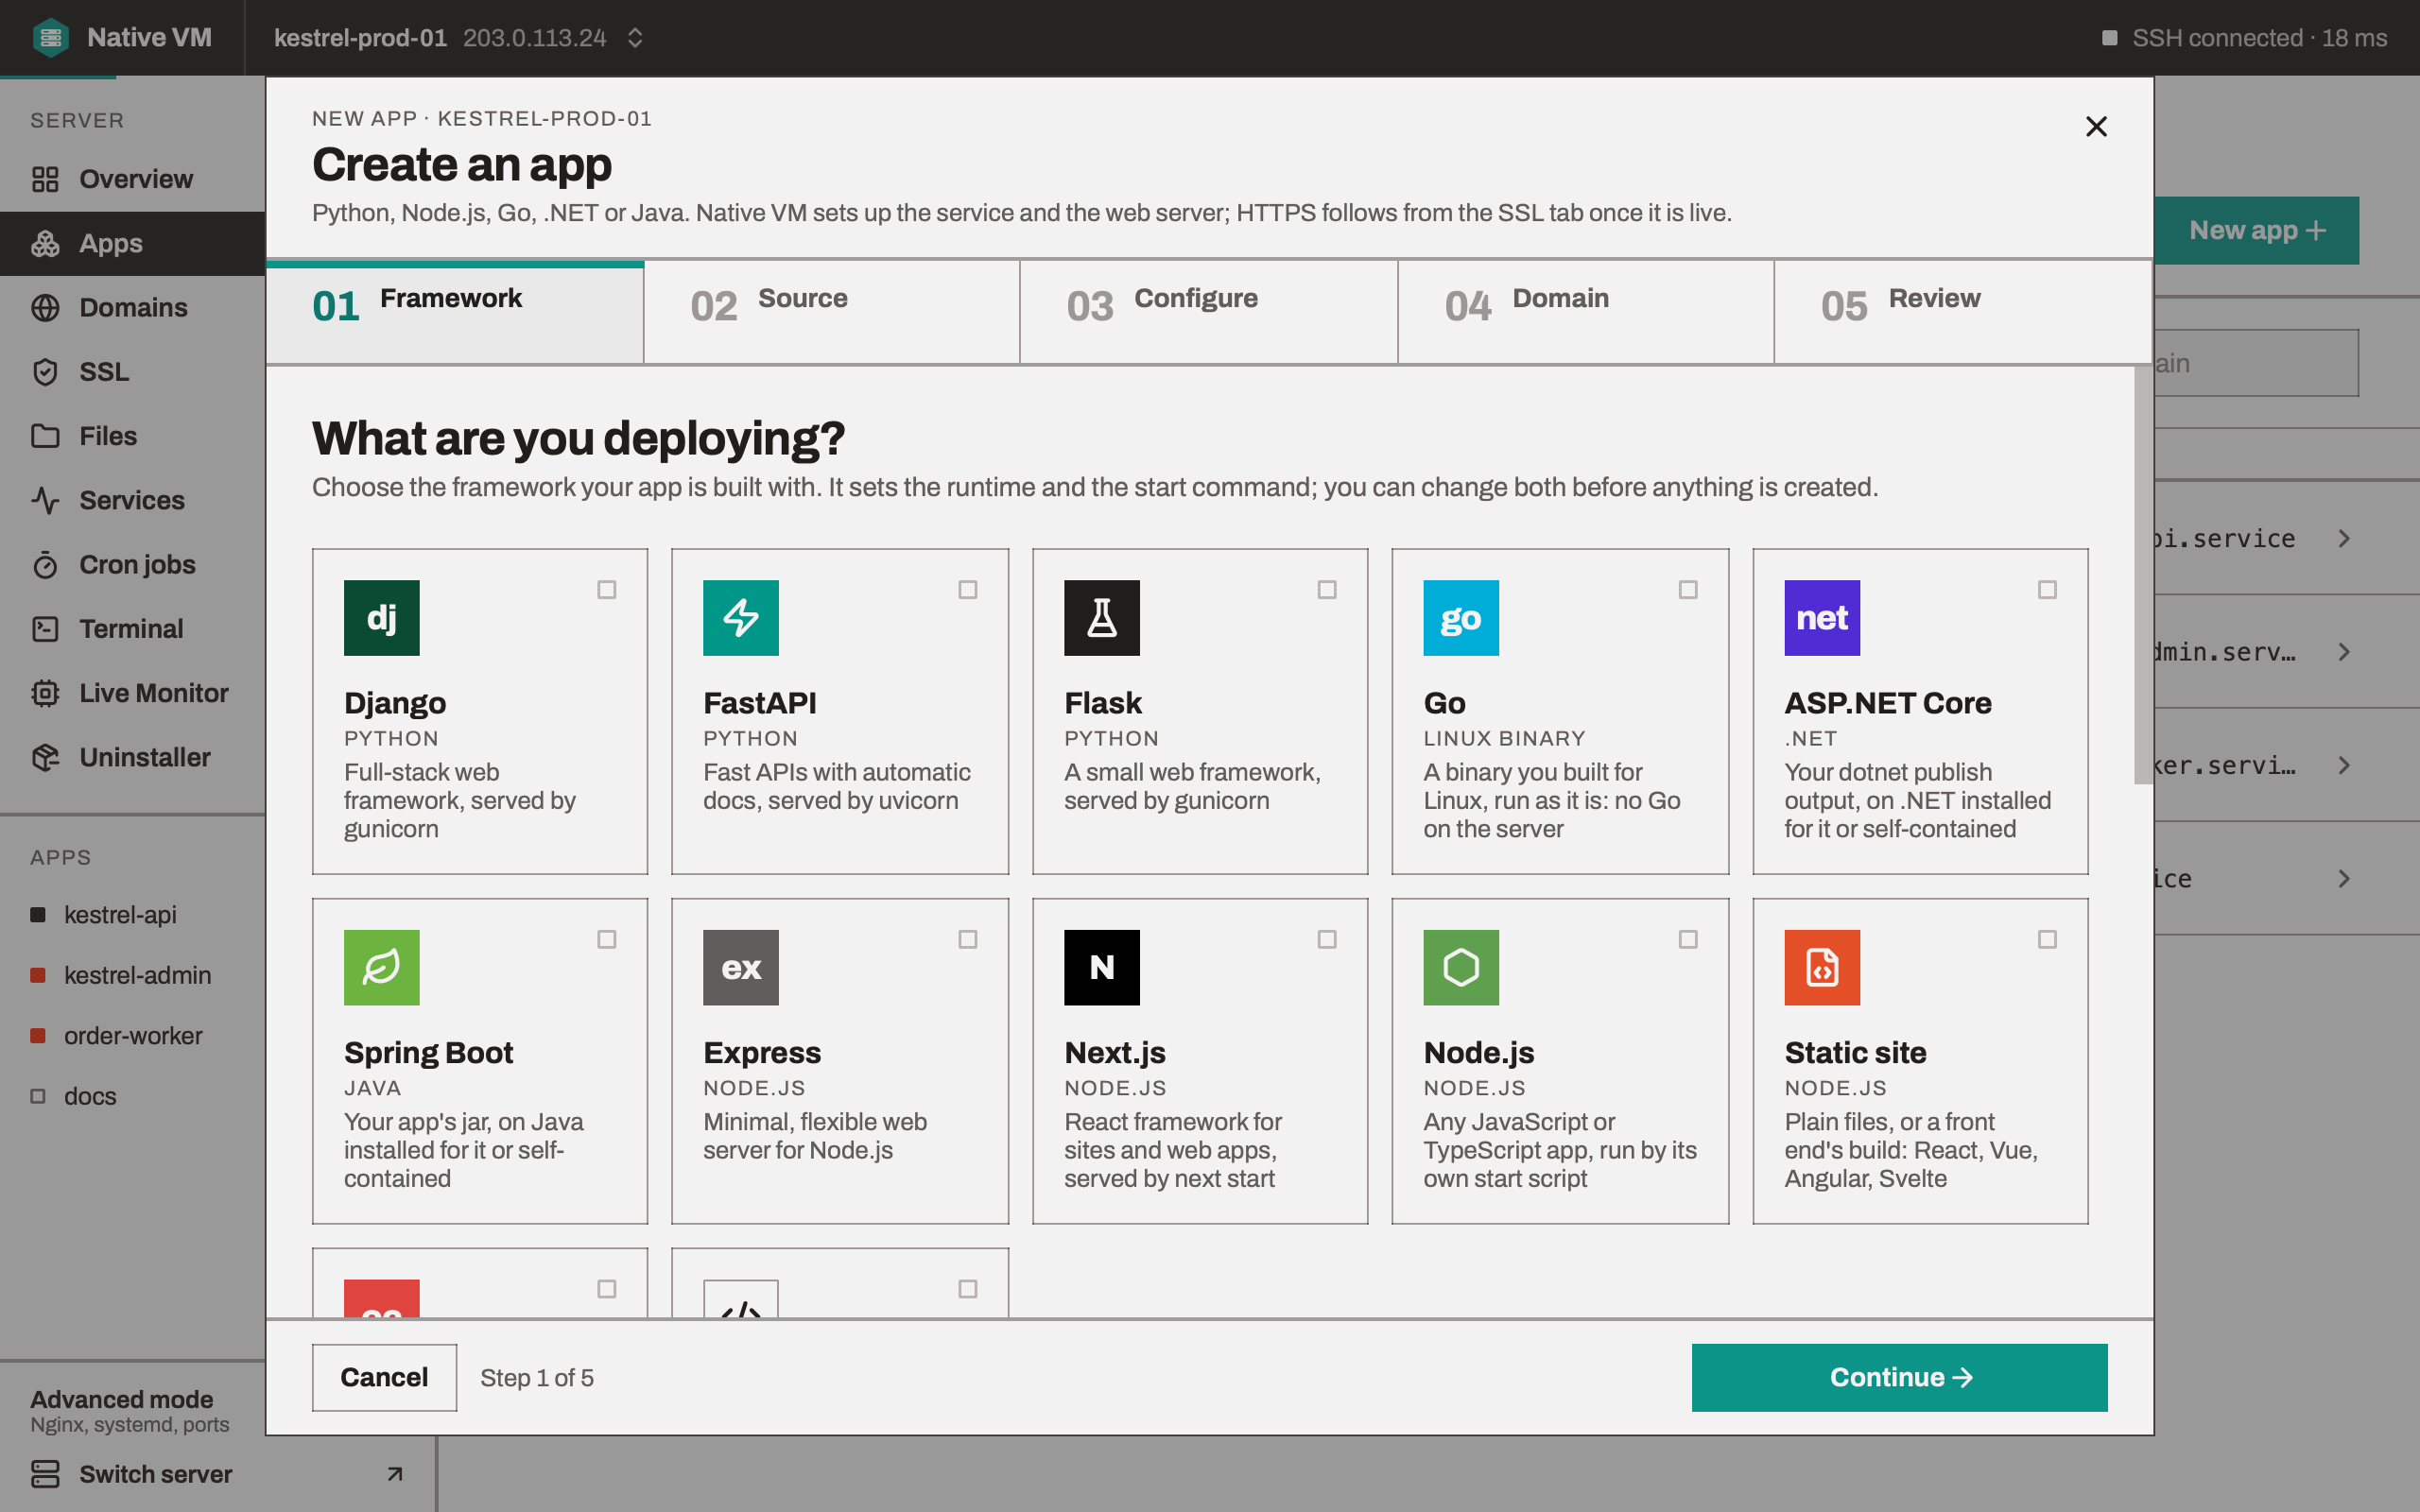
1. Framework
Choose what you're deploying: Django, FastAPI, Flask, Go, ASP.NET Core, Spring Boot, Express, Next.js, Node.js, Static site, OpenClaw, or Other. The framework sets the runtime, the start command and the packages that command needs; you can change all of them before anything is created.
Node.js is the tile for any JavaScript or TypeScript app the grid doesn't name, such as Nest, Nuxt, Remix or Fastify. See Frameworks and runtimes for how each one runs.
2. Source
Where the code comes from. Two choices, and you can change your mind later with Edit app.
Git repository
GitHub, GitLab or any Git server. The server clones and fetches the repository itself, and every deploy fetches the newest commit of the branch you choose. Nothing reads the code before it's deployed, so the framework's start command is used as it is; if your project keeps its app somewhere else, change the start command under advanced settings.
Private repositories
Turn on Private repository under the Git fields and give a username and an access token. For GitHub, the username is yours; for a GitLab deploy token, it's the one the token was given.
- The token stays on this computer, kept where your credentials are, never in a file or on the server. Only the username is recorded with the app.
- It's sent per fetch. Each deploy hands the token to git through the environment for that one repository's address. It never appears on a command line, and nothing is written to disk.
- HTTPS only. An address with a password or a token in it is refused: addresses are recorded where every account on the server can read them.
- Entered once. If a deploy finds no token on this computer, it asks for one and deploys. The Deploys tab's Repository section shows whether this computer has the token, with Add token, Change or, when the host refuses it, Update token.
Local folder or starter
Code from your computer: a folder, a .zip or a .tar.gz. Native VM packs it on every deploy,
so a redeploy sends what's on disk now. Before sending, it reads the project and says what it found
and what will go wrong, such as "gunicorn is not listed in requirements.txt" or "this looks like
Flask, not Django", before the deploy rather than in its log.
What's left out of an upload: .git, node_modules, virtualenvs, caches (including .next/cache,
.angular/cache and .parcel-cache), *.pyc, and the .env at the top of the project, because
every release uses the app's own .env from the server instead. Links that point outside the
project are left out with a note.
Uploads are capped at 256 MB compressed, 1 GB unpacked and 50,000 entries. Bigger belongs in Git, where only changes travel.
Or choose the framework's starter template: Native VM's own hello world, with a page and
GET /health. It's the quickest way to see a whole deploy work.
3. Configure
The app's name and its runtime version. Under advanced settings:
- Build and start commands, prefilled from the framework.
- Socket or port: how nginx reaches the app. Python apps default to a unix socket, which nothing off the machine can reach; Node.js, Go, .NET and Java apps default to a port on localhost.
- Limits: memory, CPU and number of tasks. Unset means no limit, not a limit of zero.
- Environment variables, and Upload .env file. See Environment variables.
App names
The name becomes the app's directory, its systemd service and its account, so it's unique on the
server. The wizard suggests a free name (shop-2 when shop is taken) and refuses a taken name or a
well-known service's, such as nginx.
4. Domain
How visitors reach the app:
- Custom domain: a domain you own, such as
shop.example.com. The step shows the record to add where you manage the domain, an A record or a CNAME, and checks it from the server. - Preview with port: plain HTTP on a free port of the server, with no DNS needed.
- No public address: for workers and anything reached another way.
HTTPS comes after the first deploy, once the app is live and the record points at the server. See Domains and preview ports.
5. Review
What will be created: the app's account and service, and the nginx site for its address. Confirm, and the launch begins:
- Create the app: its account, its directory under
/srvand its systemd service. - Deploy it: fetch or upload the code, install, build, start, and check that it answers.
- Connect the address: write and enable its nginx site.
A fresh server is given what each step needs and nothing else: the runtime manager for this app, git for a Git source, nginx for a site. Nothing already installed is upgraded or reconfigured.
When the launch finishes, the banner's next step is Set up HTTPS. See SSL certificates.