Getting started
Quick start
From a bare VPS to an app on HTTPS in one sitting. You need Native VM installed, a Native VM account, and a fresh server you can reach over SSH.
Get a server ready
Create a VPS running Ubuntu 22.04, Ubuntu 24.04 or Debian 12 at any provider. Native VM needs root on it, one of two ways:
- Root with an SSH key. Many providers set this up when you add your public key.
- A user with password-less sudo. Native VM never asks for, holds or types a sudo password, so the rule must not ask for one. On the server, as root:
visudo -f /etc/sudoers.d/deploy
and add this line, with your user's name:
deploy ALL=(ALL) NOPASSWD: ALL
Install Native VM and sign in
Download Native VM, install it, and sign in. No account yet? Choose Create an account on the sign-in window; it opens toolxbd.com in your browser. Come back and sign in with the same email and password.
Connect the server
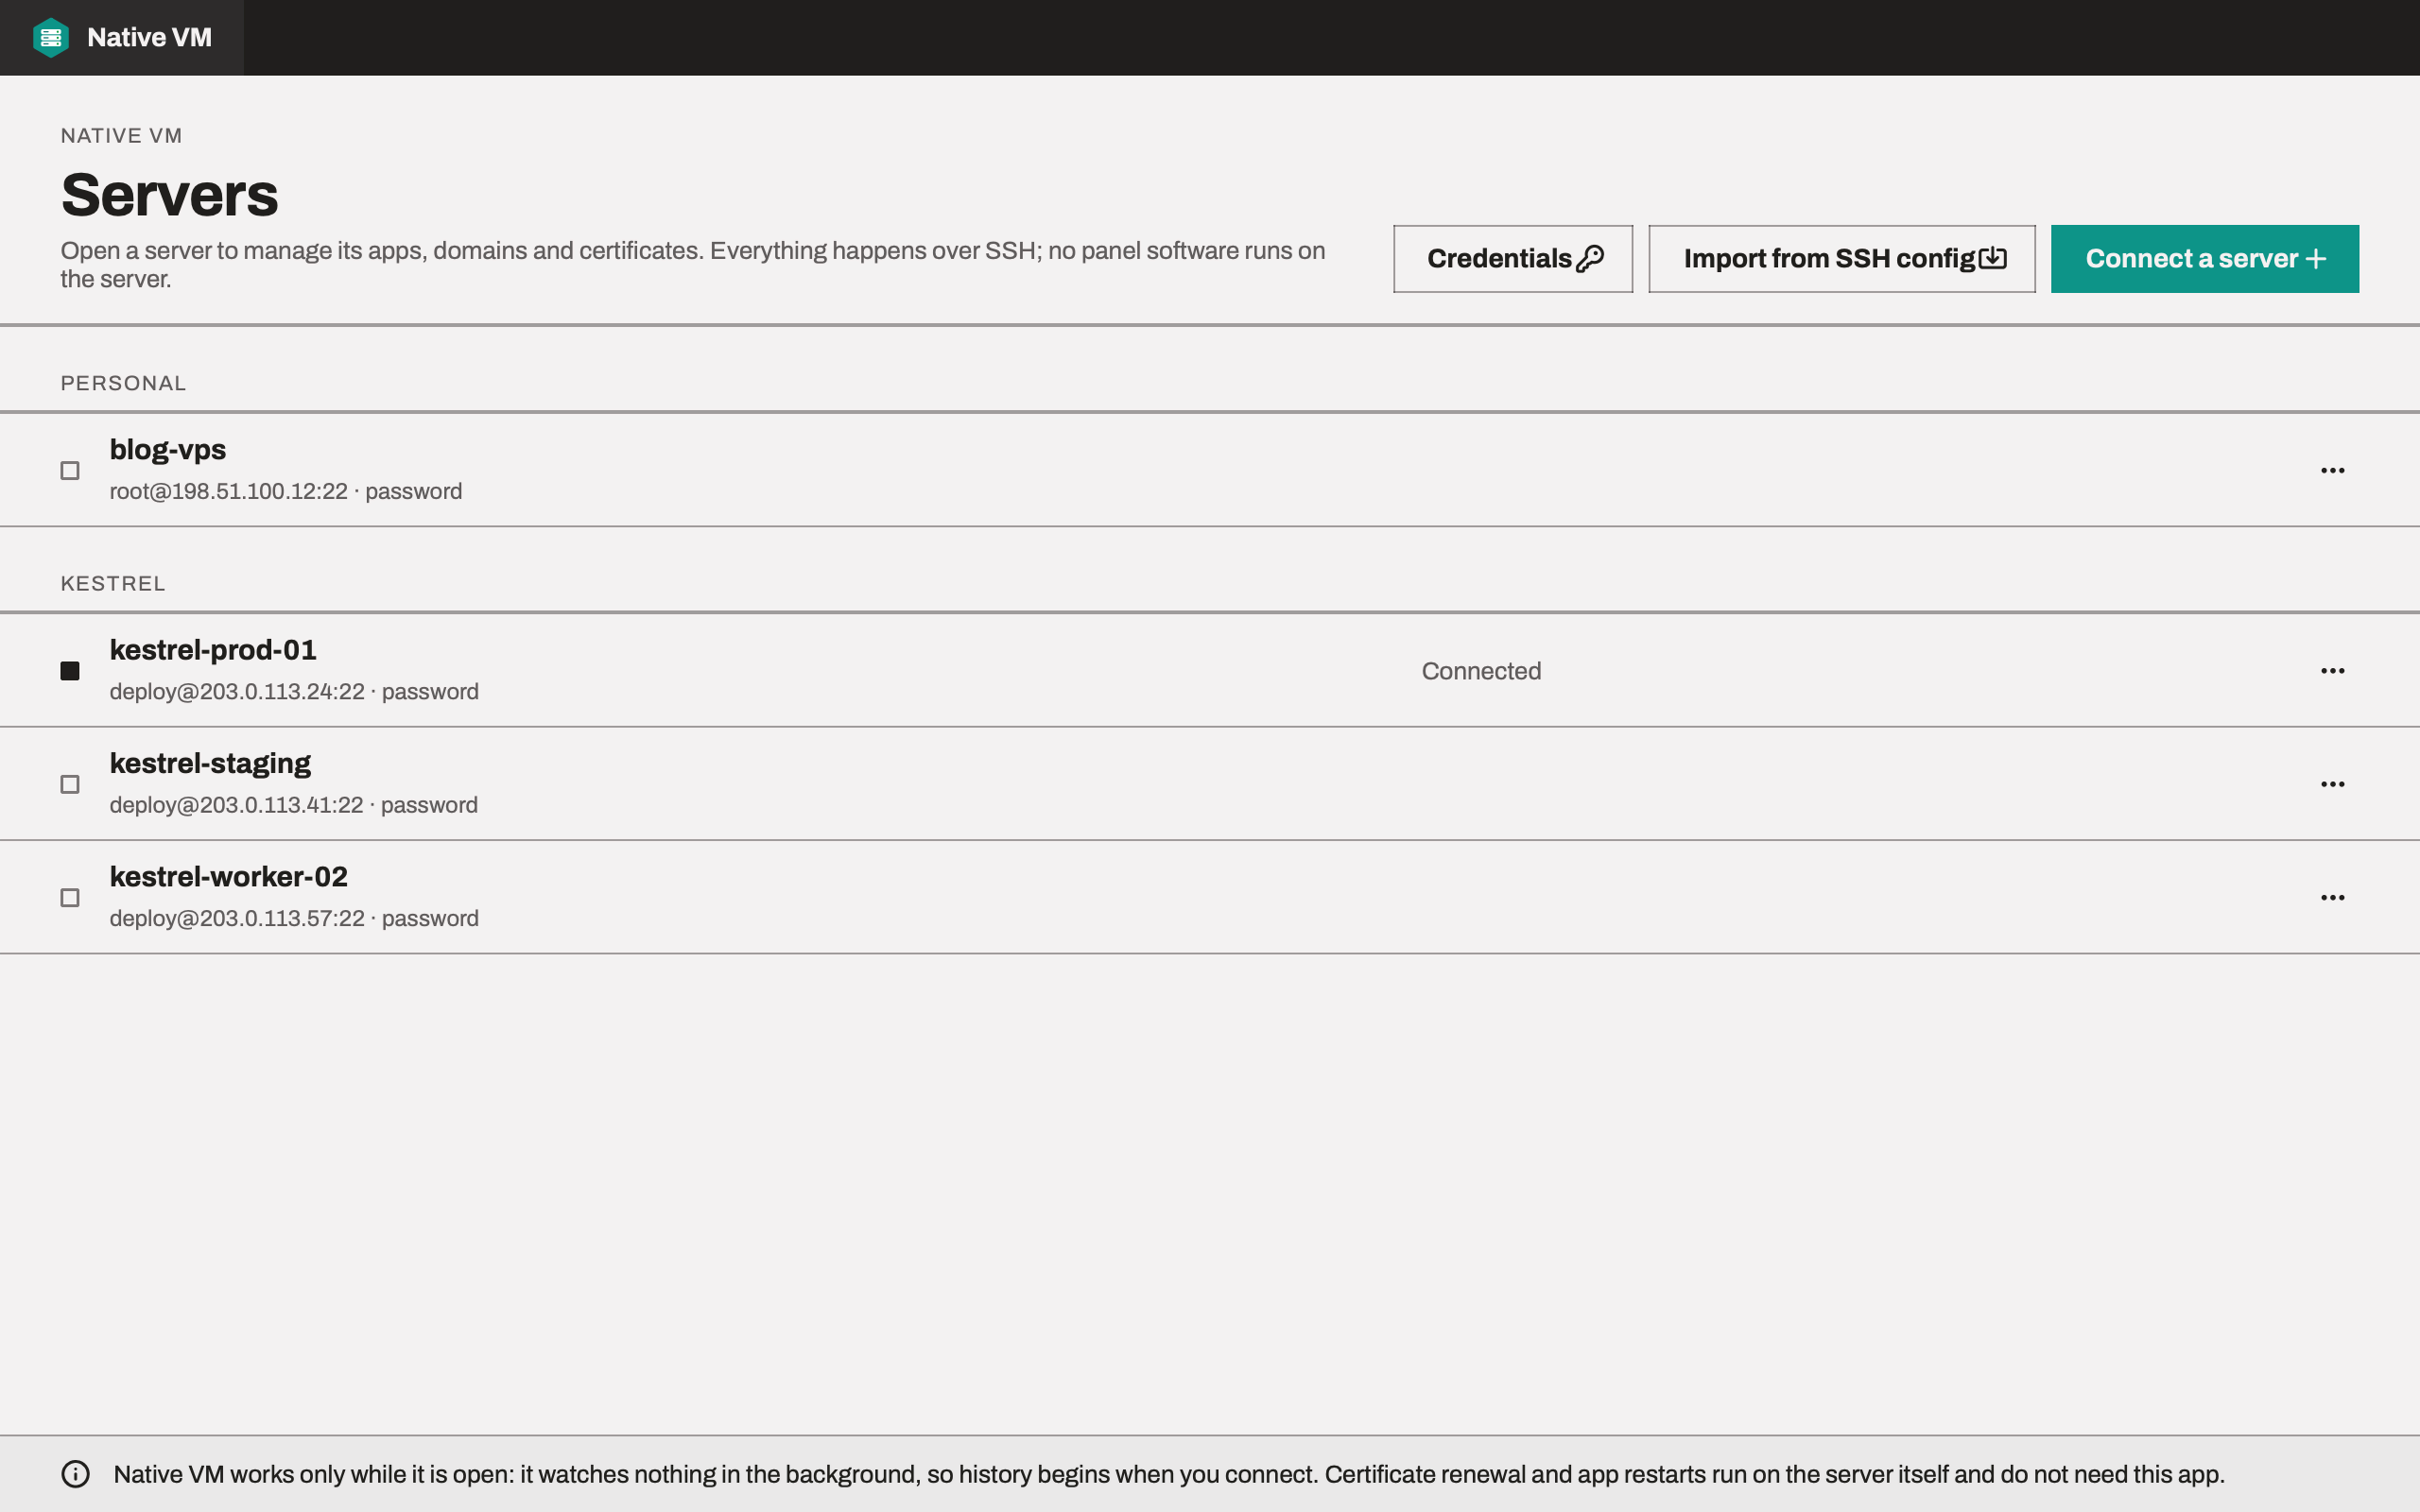
In the Servers window, choose Connect a server. Give it a name, then its host or IP address, SSH port and username, and choose how to sign in: SSH key or Password. Press Connect and check.
The first time, Native VM shows the server's host key fingerprint. Check it against what your provider shows, then trust it. Native VM then runs its checks: root access, a supported distribution, the system's Python, and its helper file. When they pass, choose Open server.
Create your first app
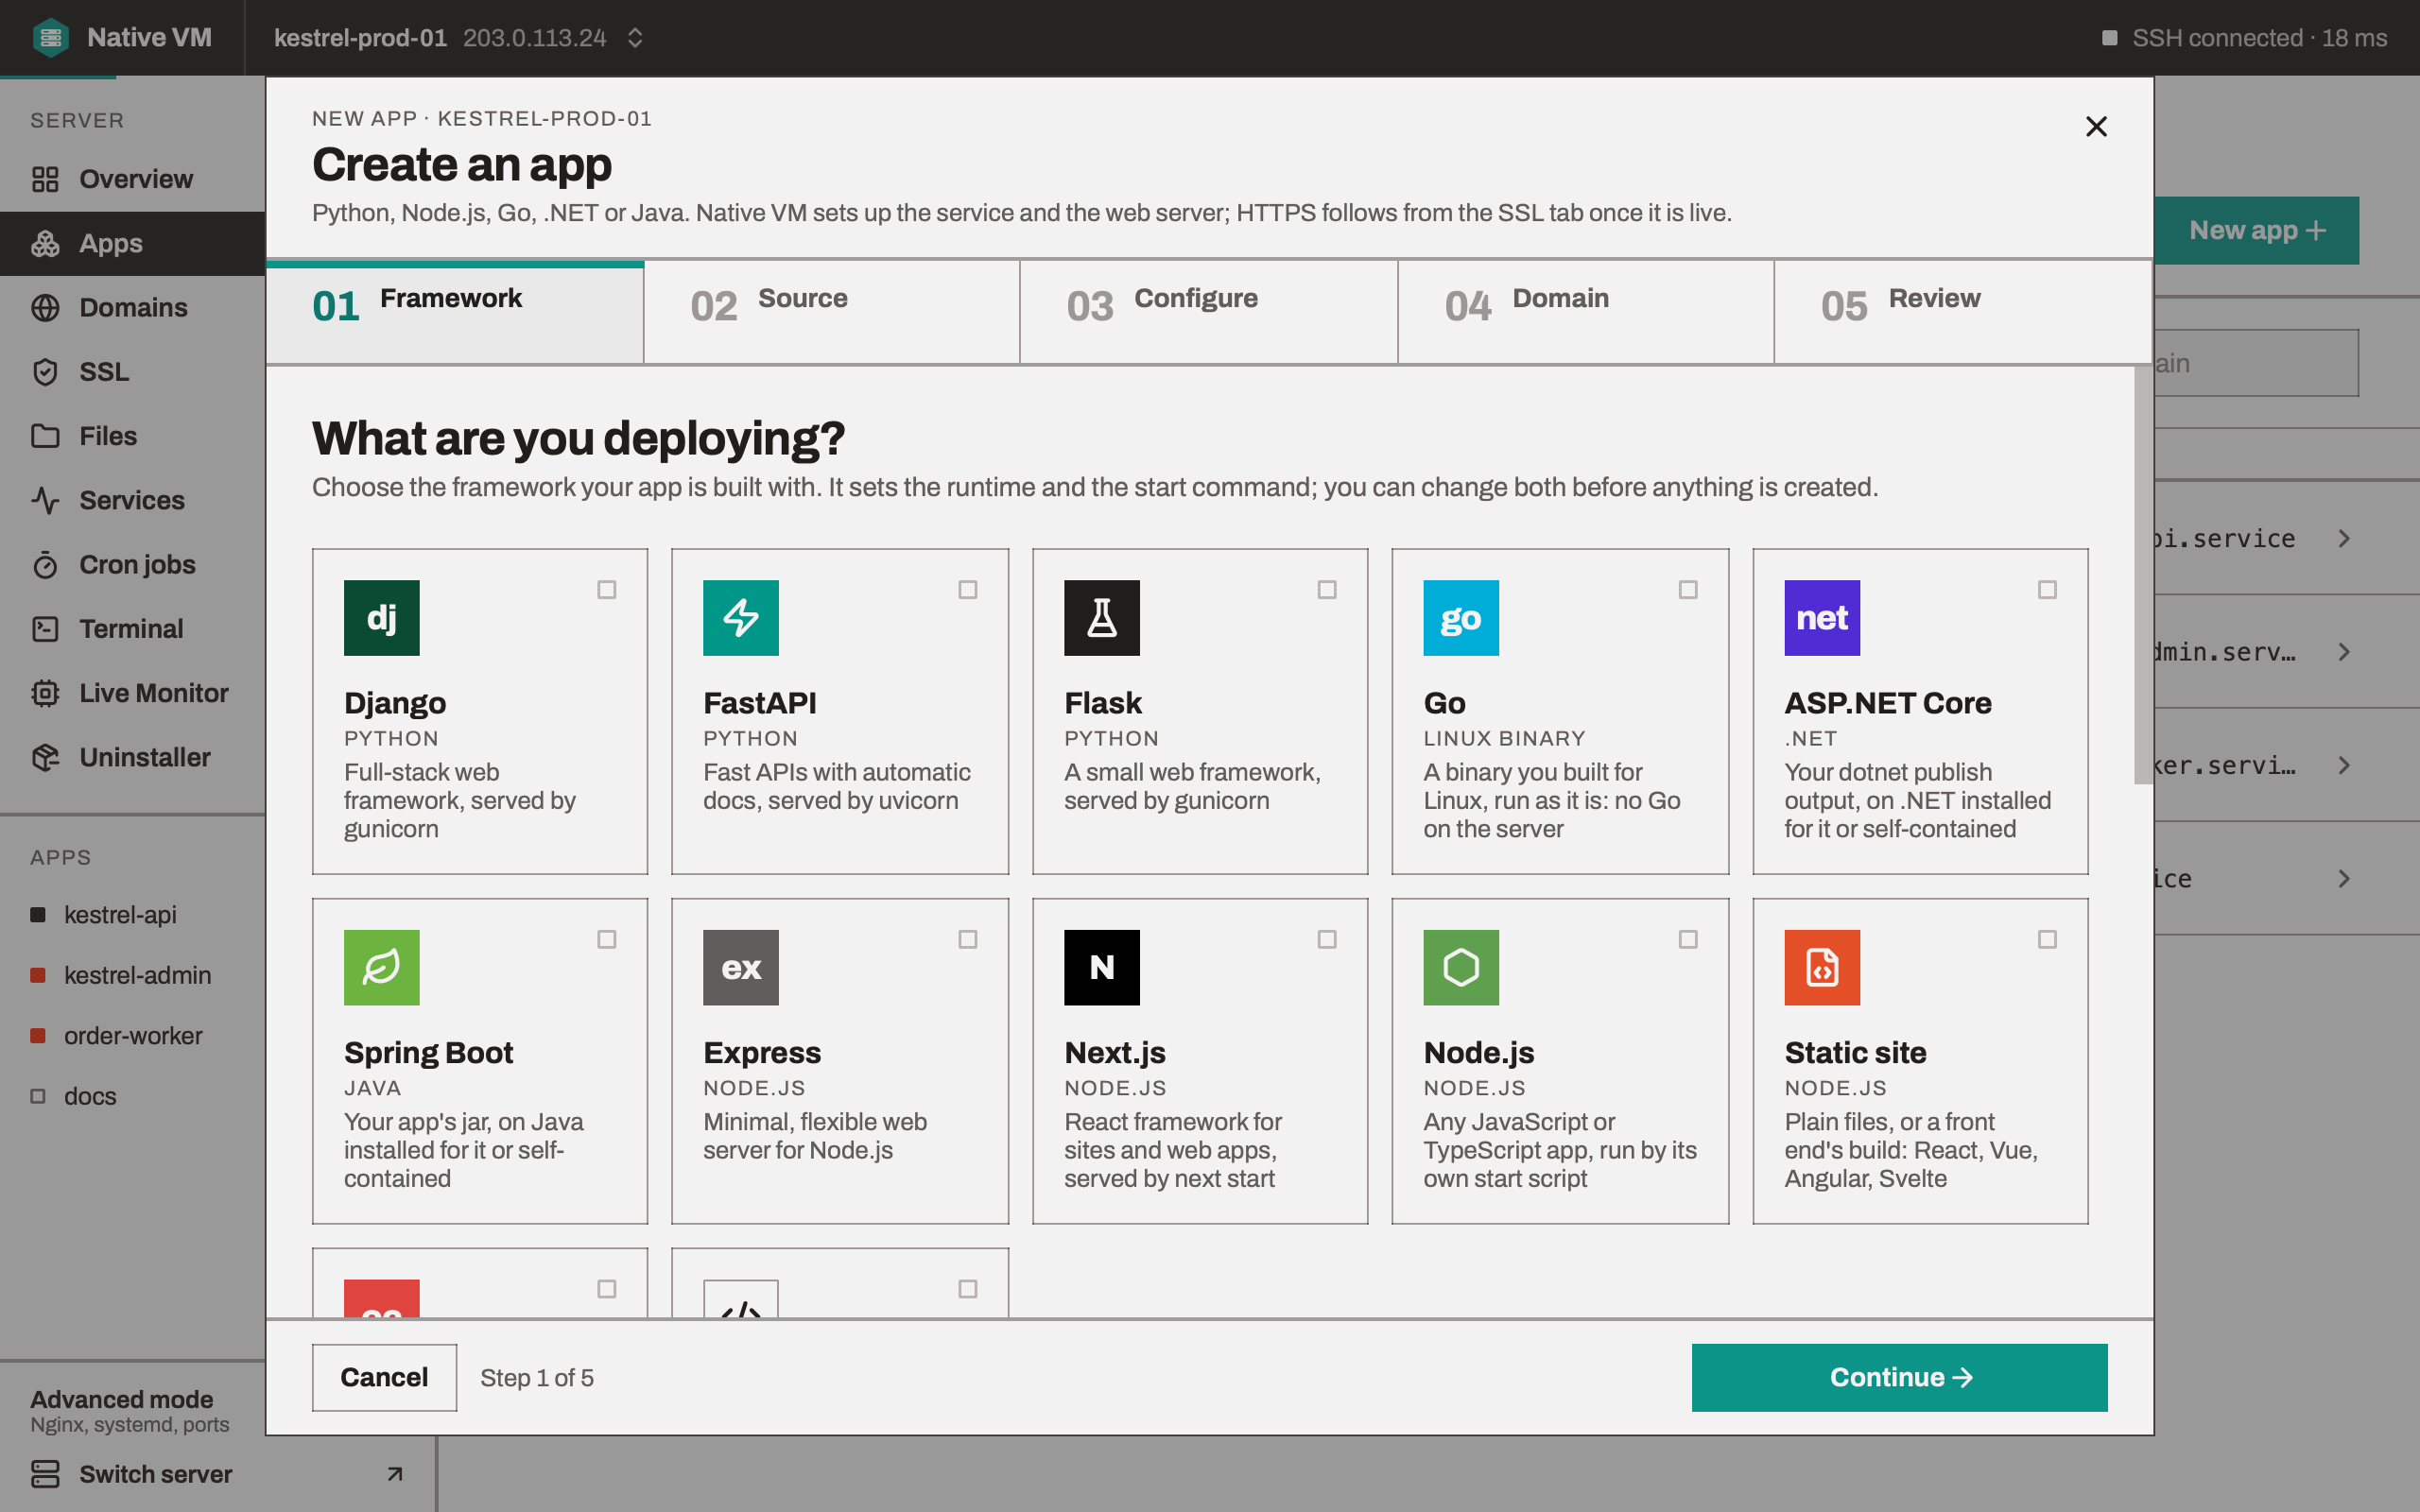
Choose New app on the server's Overview. The wizard has five steps:
- Framework: what you're deploying, for example FastAPI or Next.js.
- Source: a Git repository, or a Local folder or starter. To try things out, pick the
framework's starter: Native VM's own hello world, with a page and
GET /health. - Configure: the app's name and runtime version. Advanced settings hold build and start commands, limits and environment variables.
- Domain: a Custom domain, Preview with port, or No public address. For a domain, the step shows the DNS record to add where you manage it.
- Review: what will be created. Nothing is sent until you confirm.
Native VM installs what the app needs, creates its account and service, deploys it, and writes its nginx site. You watch every step as it happens.
Turn on HTTPS
When the launch finishes, its banner offers Set up HTTPS. It opens the app's SSL tab, where Native VM checks from the server that your domain points at it, asks Let's Encrypt for a certificate, and switches the site to HTTPS behind a diff. Renewal then runs on the server by itself.
Deploy again, and roll back
Push a change and press Re-Deploy in the app's header. Each deploy is a new release, switched to only once it answers. The app's Deploys tab lists your recent releases with Roll back beside each: one click, about half a second.
Next steps
- Finding your way around: windows, pages and Advanced mode.
- Environment variables: give the app its secrets.
- Cron jobs: run commands on a schedule.